Syncing Obsidian Vault on macOS and Android, for free, using git
Motivation 💪
-
You have been using Obsidian to store your notes. I highly recommend it if you don’t - in that case, come back to this page later.
-
Your current solution to write notes is to use a separate app or separate Obsidian Vault on your phone. After you reach your computer, you manually copy and paste data into your primary Obsidian Vault. I previously used Google Keep for temporary notes, which were moved into Obsidian Vault when I found the time.
-
Update: I no longer use git to sync my Obsidian Vault. This is because manually resolving conflicts between my notes and
.obsidianfiles using git and Termux is tedious on a small screen and a touch keyboard. Now, I pay for Obsidian Sync. I am planning on trying Syncthing soon. I also now trust GitHub (Microsoft) less with my private notes. See Copilot regurgitating Quake code, including sweary comments for some discussion.
Warning 🌶
- This guide requires the use of command line and git, and storing your data privately online, like on GitHub. Therefore, it is not end-to-end encrypted, and Github developers could have access to your data.
- If you are unwilling, there are other ways to sync Obsidian Vaults, e.g. using Google Drive, Dropbox or paying for the Sync Service from Obsidian directly.
- If you want end-to-end encryption for your files, use the Obsidian Sync Add-On Service (currently $8/mo).
Brief notes about my note taking 📝
- Markdown is an open file format to store your information, and it was created by Aaron Swartz and John Gruber.
- It’s readable even in its raw format (text) without an app, eg (MS Word), but you can make it look even better with apps like Typora and Obsidian.
- Open file format: This means if the app you’re using shuts down, changes it’s pricing or is unethical, you can take your data to another app without much cost.
- I started using Typora when it was free, and it was great. As they previously warned, it became paid software, and that is fair - it’s a great app.
- I found Obsidian on a variety of websites and from a colleague. Over time, I realised it would organise all the notes I made in the past, and make them searchable.
- Eventually, I abandoned Typora to use Obsidian completely since I could do everything in Obsidian.
Example 😃
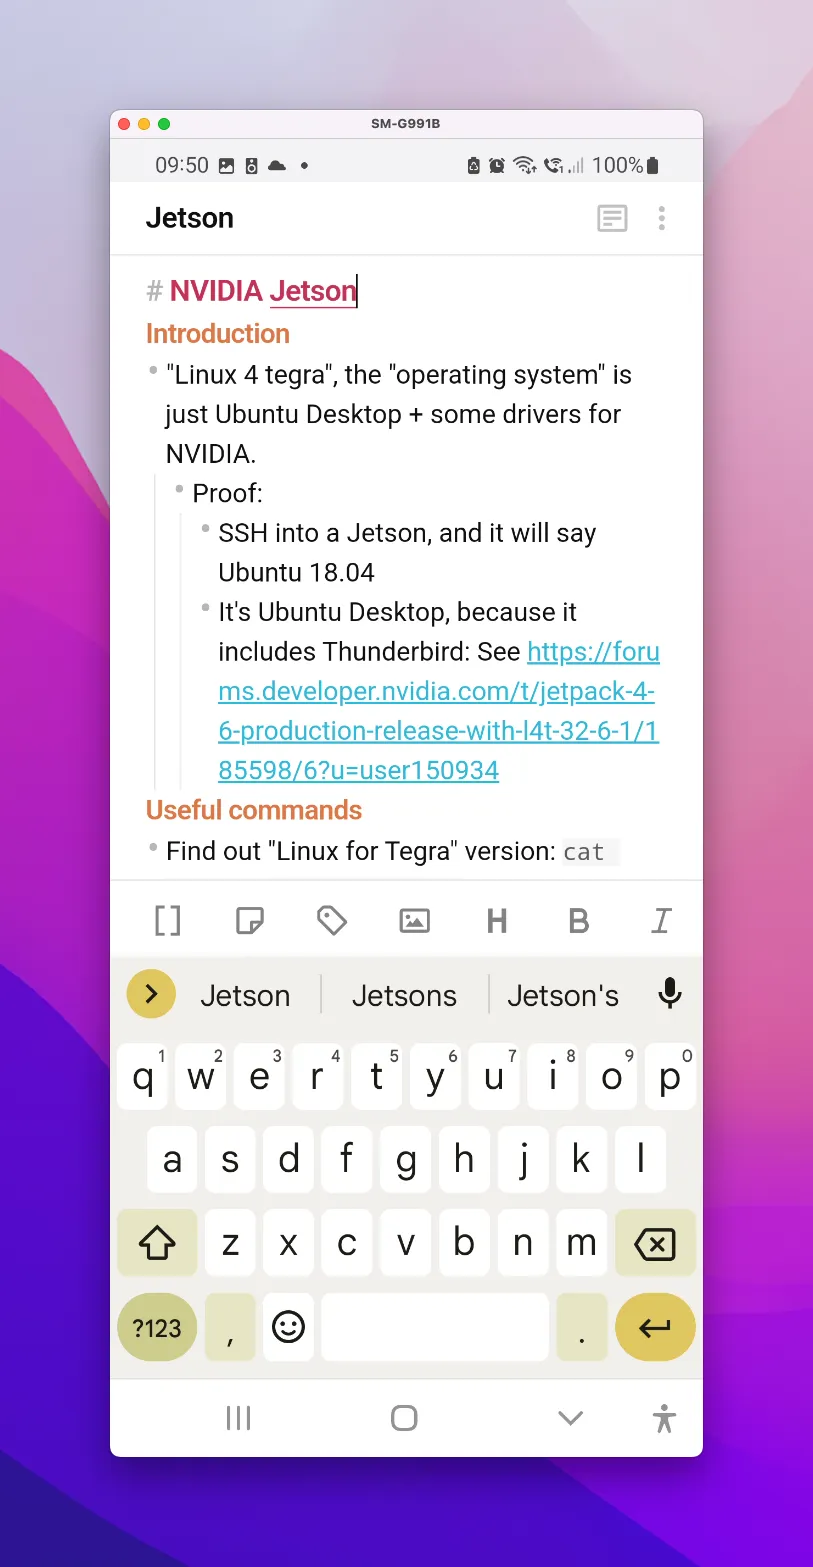
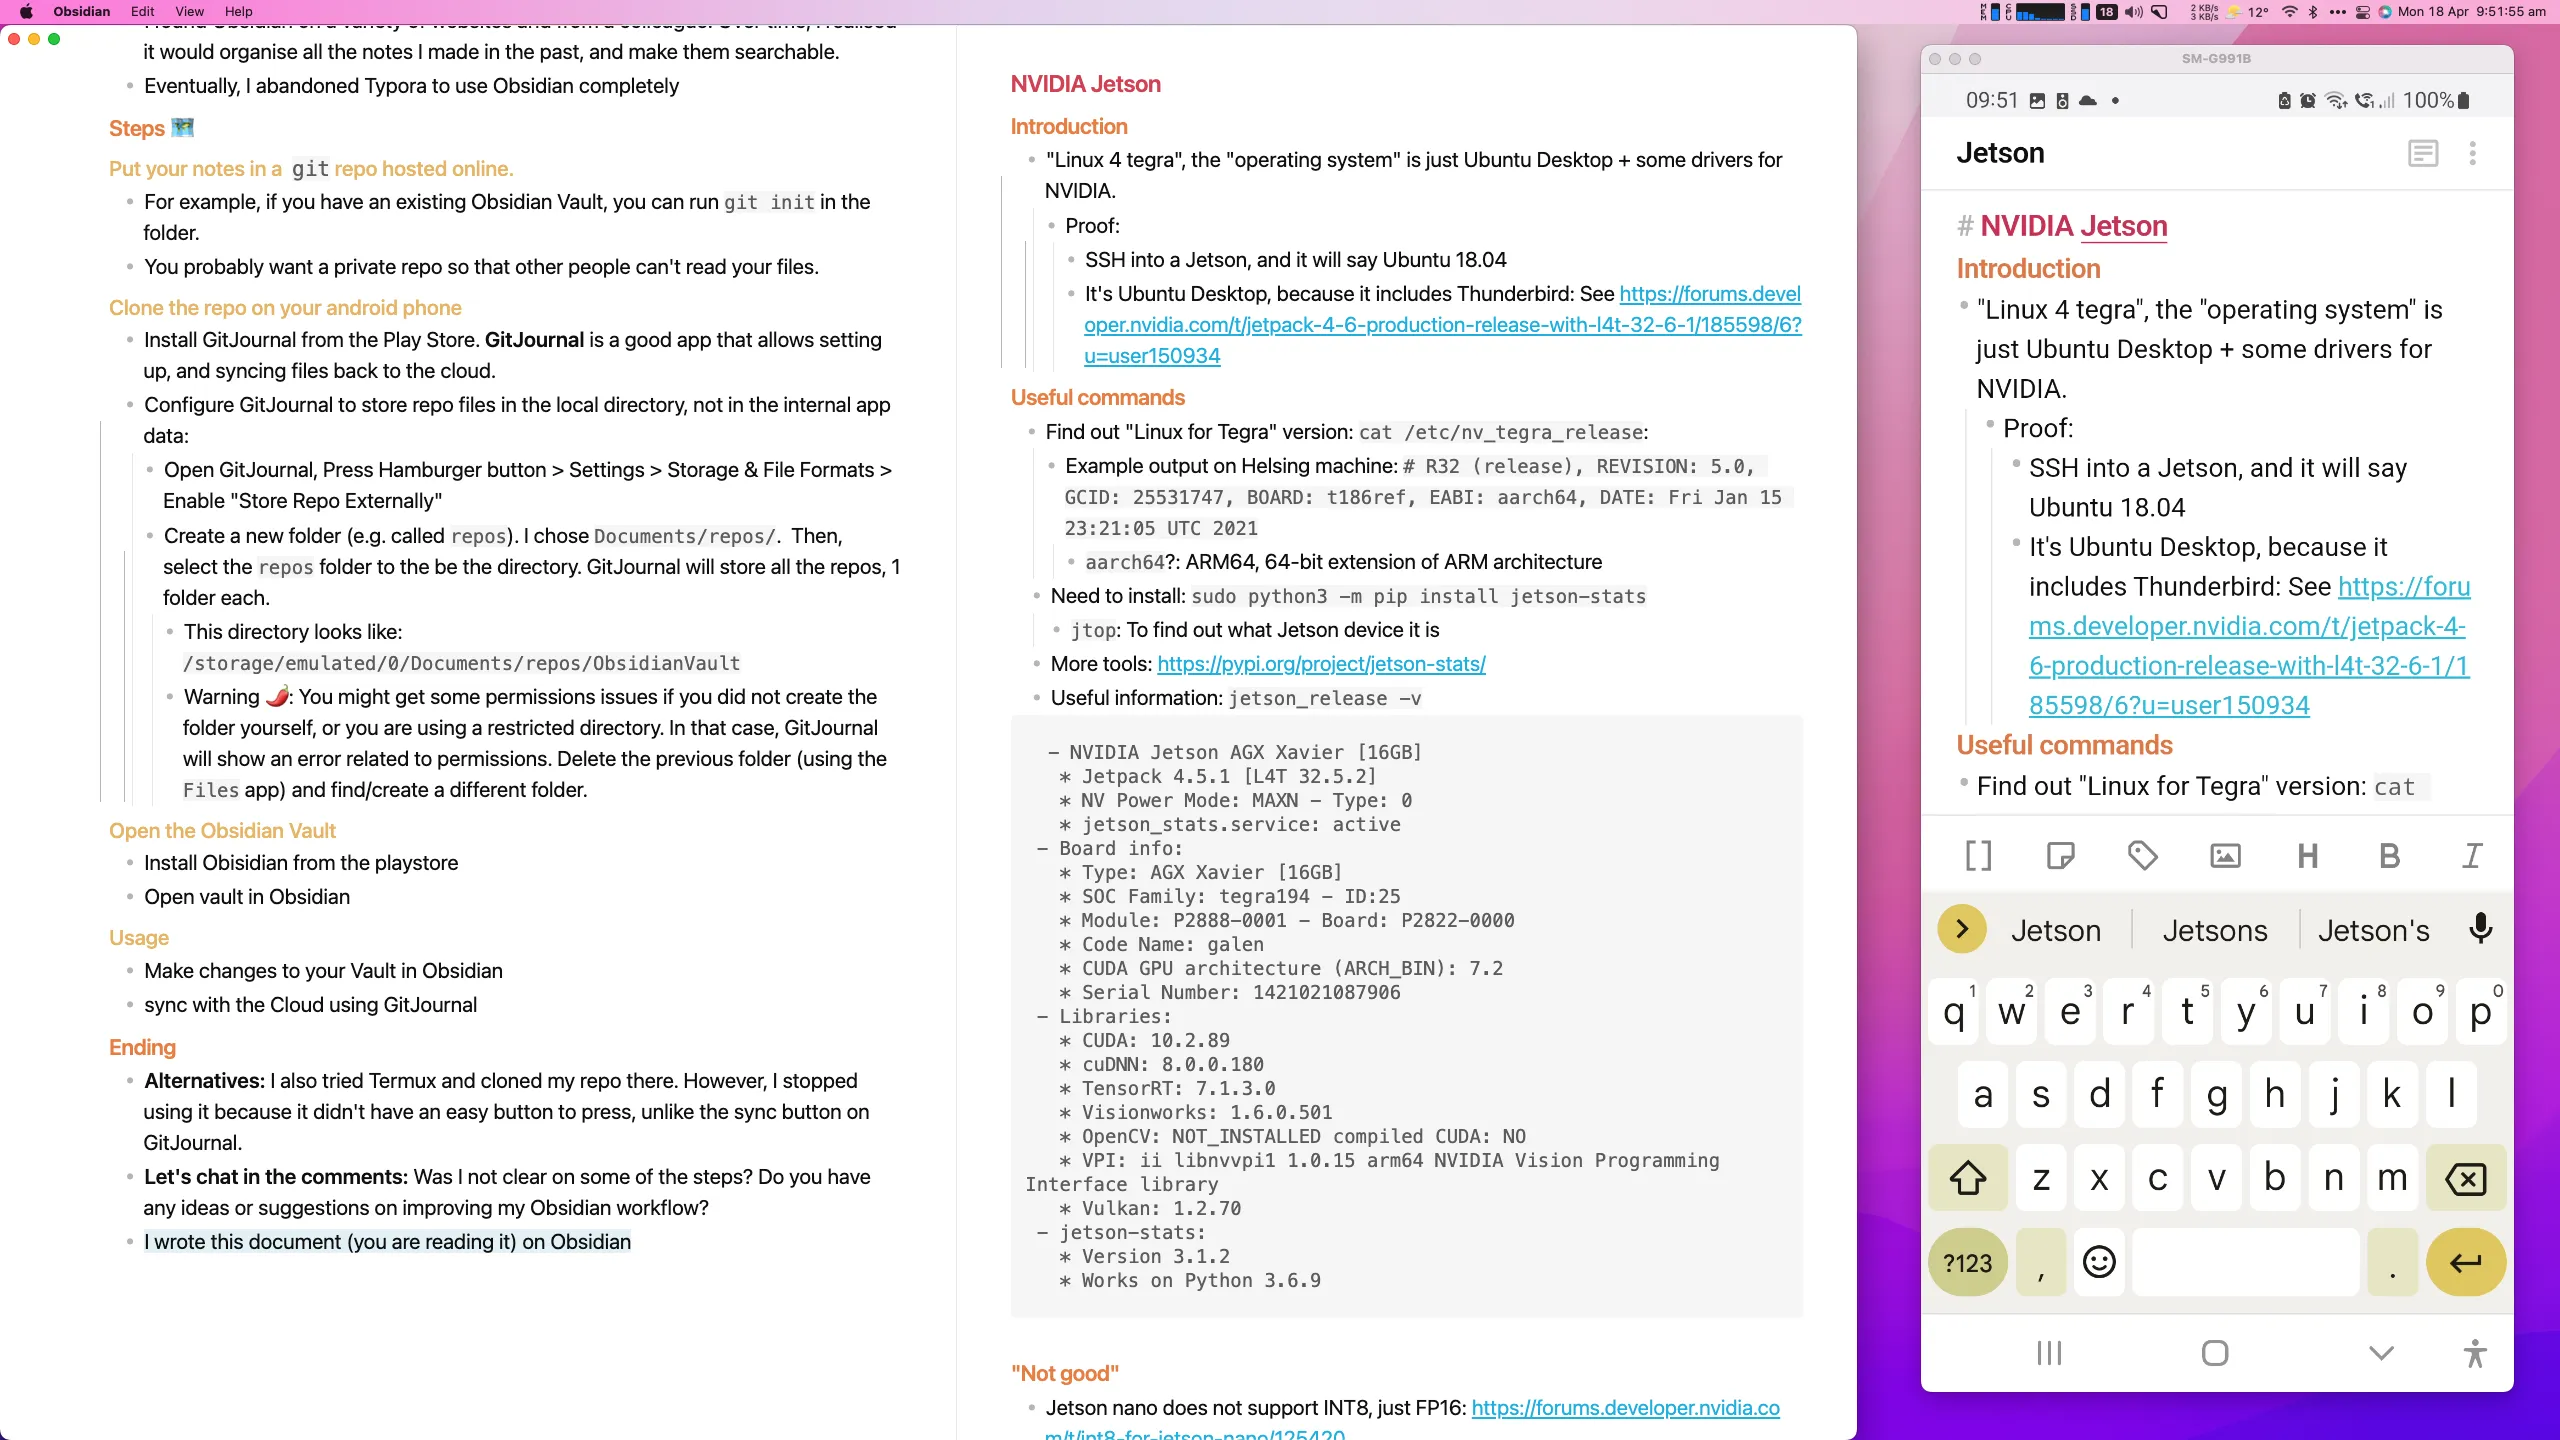
Here’s a picture of a file from my Obsidian Vault I wrote on macOS, but it’s viewable and editable from Android. My Android device screen is captured using scrcpy

Steps 🗺
Put your notes in a git repo hosted online. 🌎
- Basically, use Github, Gitlab or other cloud provider which hosts git repositories.
- You probably want a private repo so that other people can’t read your files.
- Github has a guide for this: Create a repo
Clone the repo on your android phone 📲
- Install GitJournal from the Play Store. GitJournal is an app that allows cloning repos, and syncing files back to the cloud.
- Configure GitJournal to store repo files in the local directory, not in the internal app data:
- Open GitJournal, Press Hamburger button > Settings > Storage & File Formats > Enable “Store Repo Externally”
- Create a new folder (e.g. called
repos). I choseDocuments/repos/. Then, select thereposfolder to the be the directory. GitJournal will store all the repos, 1 folder each.- Some notes about paths:
- GitJournal will show the true path for the directory (ie
/storage/emulated/0/Documents), whereas - the
Filesapp only shows files inside of/storage/emulated/0as the root aka. Internal storage folder.
- GitJournal will show the true path for the directory (ie
- Warning 🌶: You might get some permissions issues if you did not create the folder yourself, or you are using a restricted directory. In that case, GitJournal will show an error related to permissions. Delete the previous folder (using the
Filesapp) and find/create a different folder.
- Some notes about paths:
Open the Obsidian Vault 📖
- Install Obisidian from the playstore
- Open vault in Obsidian
Usage 🔁
- Make changes to your Vault in Obsidian
- sync with the Cloud using GitJournal
Ending 👋
-
I wrote this document (you are reading it) on Obsidian, and in fact, Obsidian’s new WYSIWIG editor is what inspired me to write SSH into your private machines from anywhere, for free, using Cloudflare Tunnel I posted on HN earlier this year. With the extensions installed, my Obsidian looks like:

-
Let’s chat in the comments: Was I not clear on some of the steps? Do you have any ideas or suggestions on improving my Obsidian workflow?
-
Alternatives:
- I also tried Termux and cloned my repo there. However, I stopped using it because it didn’t have an easy button to press, unlike the sync button on GitJournal. You have to a run a few commands in the terminal to set up the file permissions and update the package repositories so you can install
git,vimand other useful tools. - If you install
adb, you can enter the command line on the Android by runningadb shell. You can explore the Android filesystem and useadbto manually copy files usingscporrsyncfrom your machine.
- I also tried Termux and cloned my repo there. However, I stopped using it because it didn’t have an easy button to press, unlike the sync button on GitJournal. You have to a run a few commands in the terminal to set up the file permissions and update the package repositories so you can install
-
Not for iOS: This guide doesn’t work for iOS, but there is a way to use git to sync files on iOS, but the software is paid (Working Copy, $19.99) if you want to make changes on iOS.
Extra Hint: git conflicts
If you do use git to sync files, you might find some merge conflicts between devices caused by the .obsidian/workspace file.
To fix this, in your Obsidian Vault, create a .gitignore file and add .obisidian/workspace in the file.
If you have already previously committed the file, run git rm --cached .obsidian/workspace to untrack the file.